How to make rc car at home with cardboard
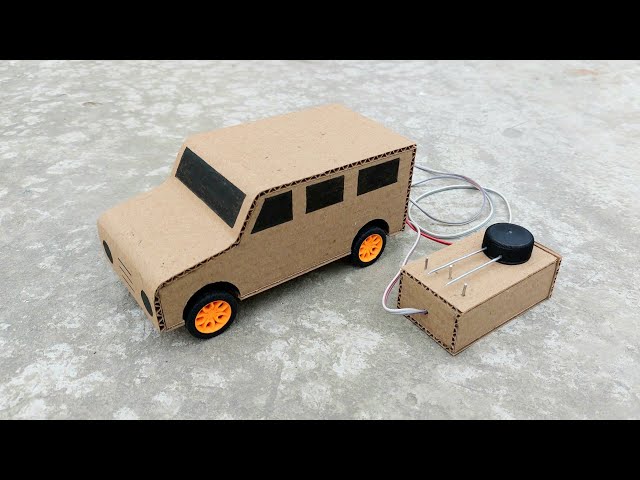
You can make a working remote-control (RC) car at home using cardboard, DC motors, and a simple battery or receiver setup.
Materials Needed
- Cardboard sheets (for the chassis, frame, and body)
- DC gear motors or 3V DC motors
- Wheels (plastic bottle caps or pre-made small toy wheels)
- Wooden skewers or sticks (for axles)
- Battery (3V or small battery pack) and connecting wires
- Mini switch or basic remote control/receiver circuit
- Hot glue gun and white glue (Fevicol)
- Cutter, scale, and marker
You can buy this products:
➞ Cardboard: https://amzn.to/4aTqsTe
➞ DC motor: https://amzn.to/4rjILcJ
➞ On/Off switch: https://amzn.to/4leIF4s
➞ Polystyrene foam: https://amzn.to/4b62kit
➞ Car wheel: https://amzn.to/4svPott
➞ GI wire: https://amzn.to/4sw5PpI
➞ Toy wire: https://amzn.to/4aUf4dk
Step-by-Step Assembly
1. Build the Chassis and Frame
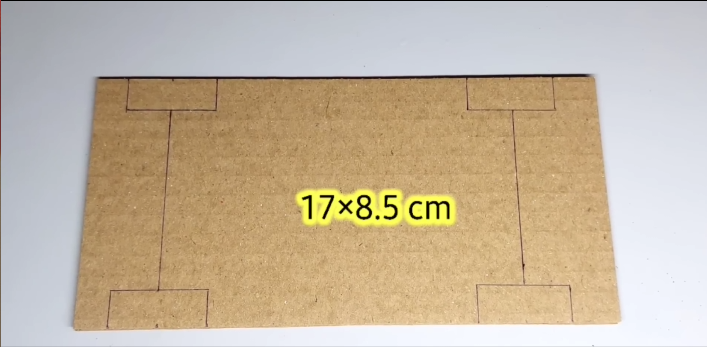
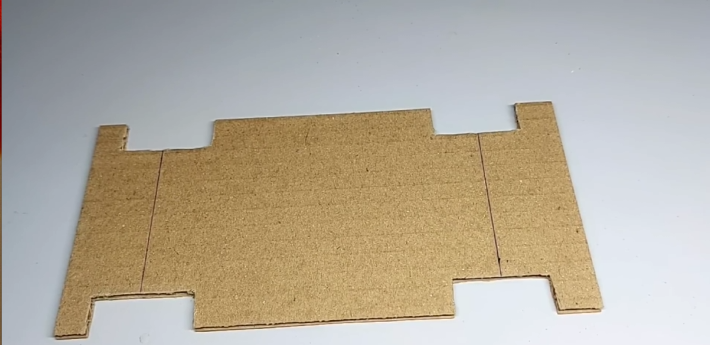
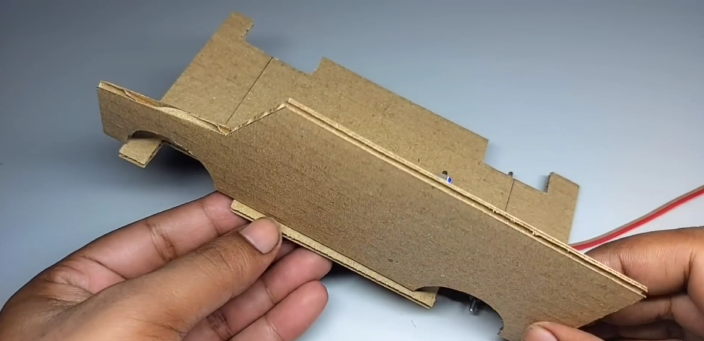
- Cut a rectangular piece of cardboard to serve as the main base (chassis) of your car.
- Cut extra support strips and glue them vertically under the chassis using a hot glue gun to add structural strength.
2. Make the Wheels and Axles
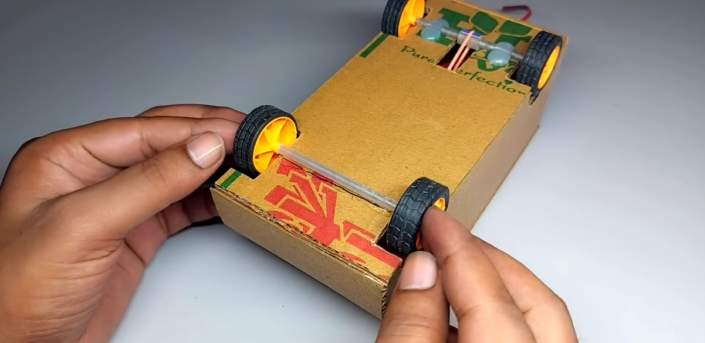
- Use plastic bottle caps or custom cardboard circles with rubber bands around the edges for traction.
- Push a wooden stick (skewer) through the cardboard body to act as front and rear axles.
- Attach the wheels firmly to the ends of the axles.
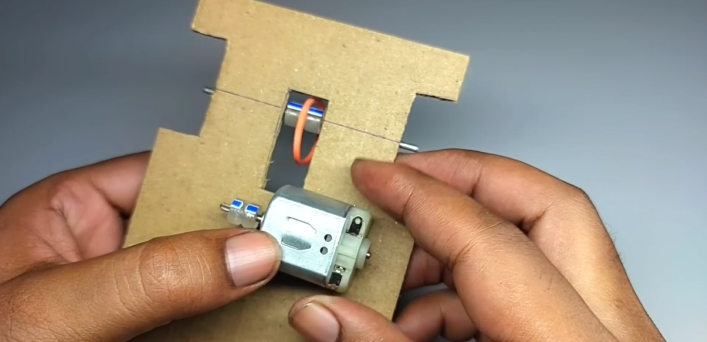
3. Attach the DC Motors
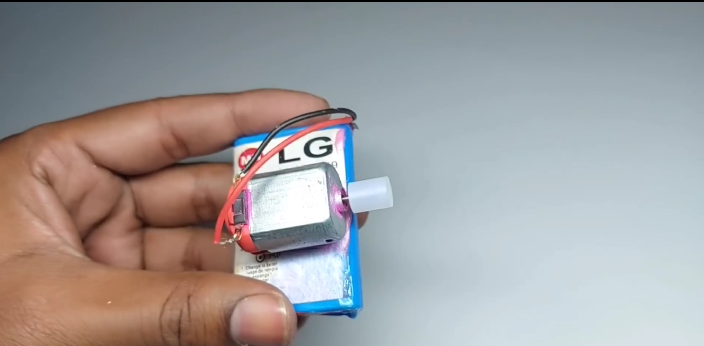
- Mount the DC gear motor to the rear section of the chassis.
- Connect the motor shaft or gear to the rear axle so the motor can spin the wheels directly.
- For a basic wired version, you can wire the motor directly to a battery and a simple toggle switch. For a wireless RC version, connect the motors to an RC receiver board and match it with a remote transmitter.
4. Design and Shape the Car Body
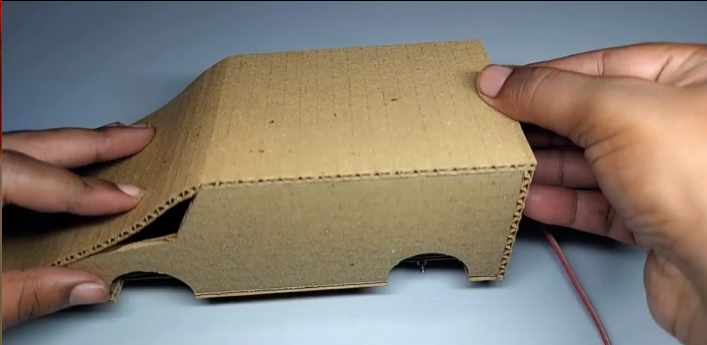
- Draw and cut out side panels, a hood, and a curved roof piece from the cardboard.
- Glue the side panels and internal support walls onto the chassis.
- Attach the roof and curve the front hood into place.
- Add custom touches like black paper for windows and a front grille.
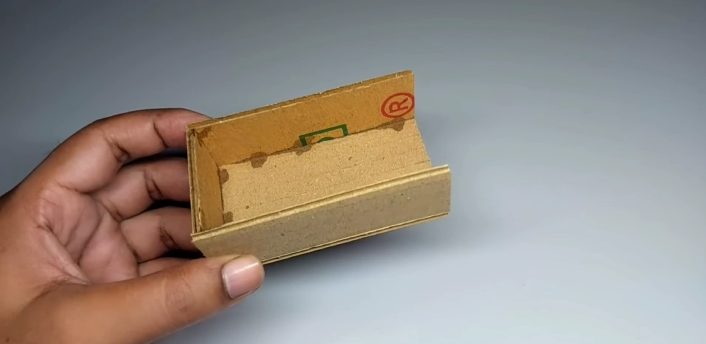
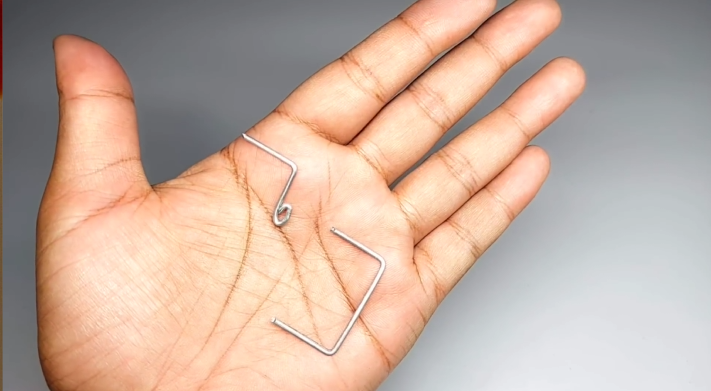
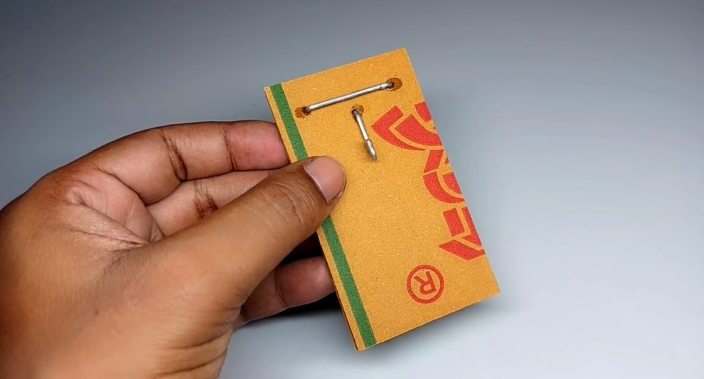
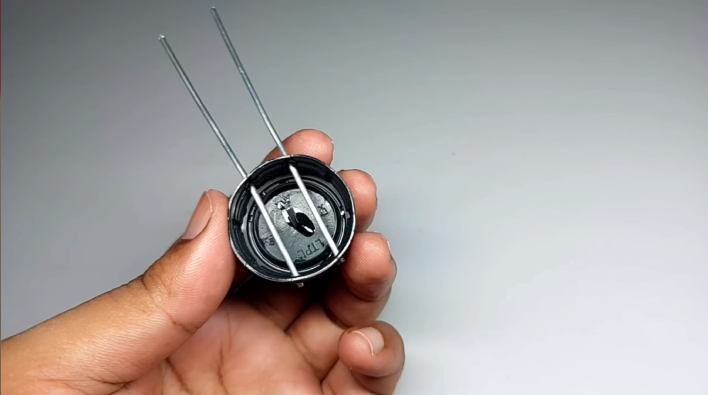
Watch this step-by-step visual guide on building and wiring your cardboard remote-control car
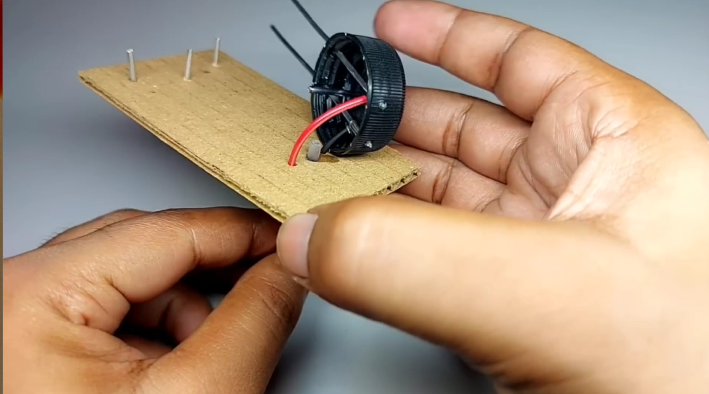
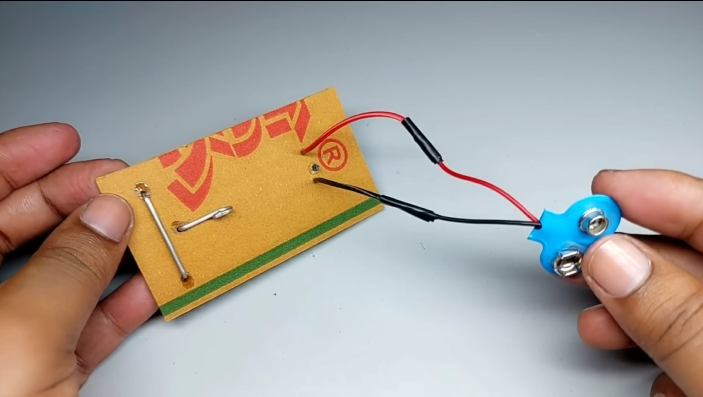
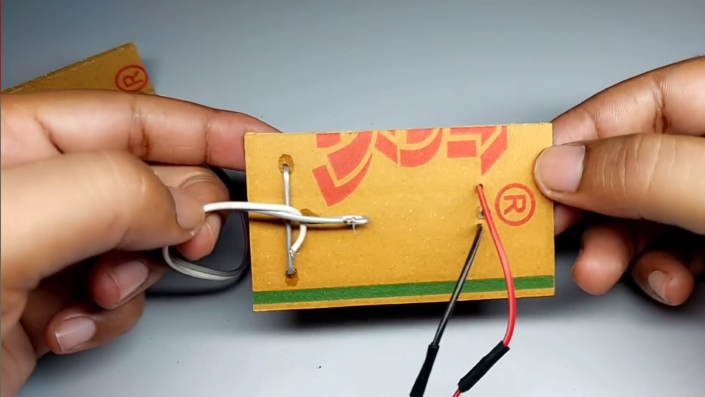
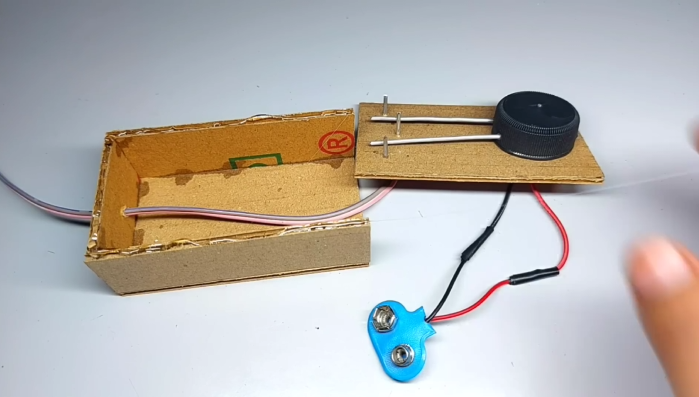
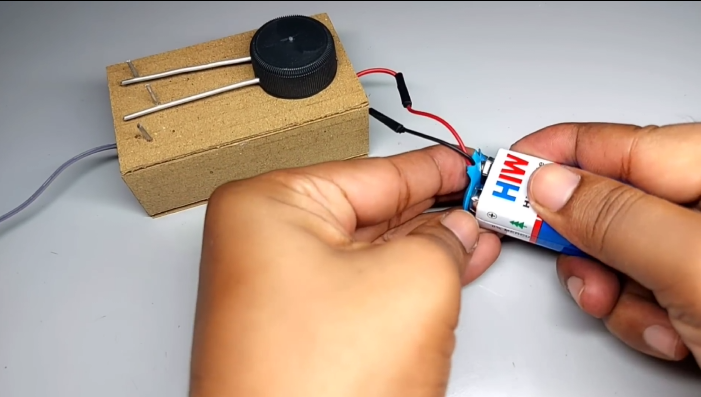
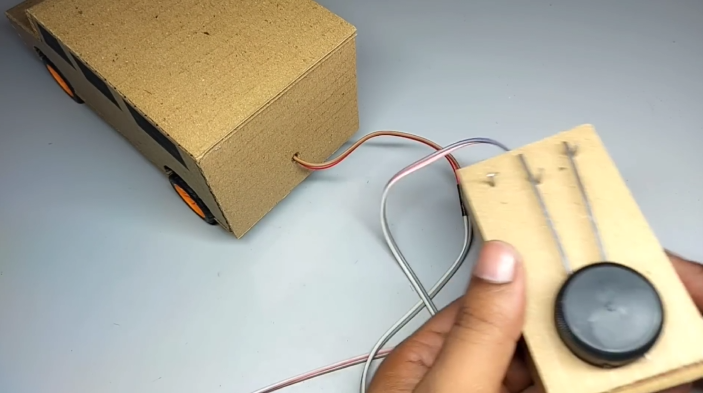
Watch this step-by-step visual guide on building and wiring your cardboard remote-control car