Step 1 – Making the Main Wheel
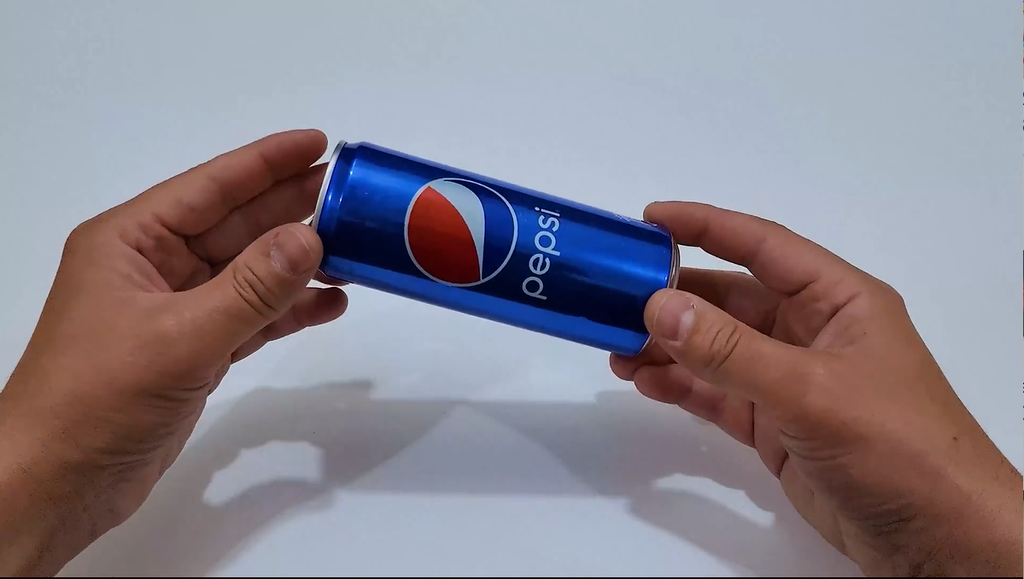
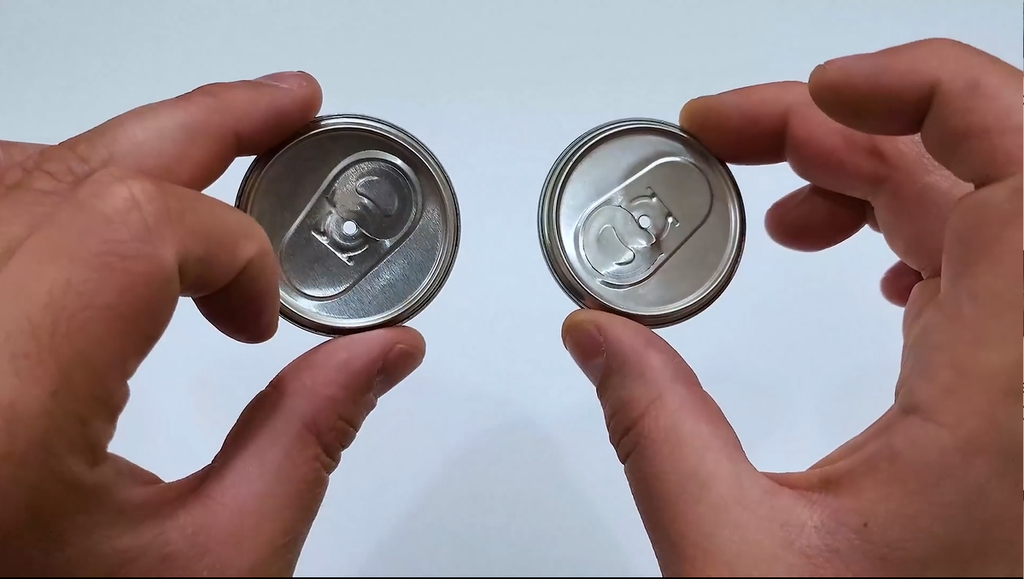
First, I took a Pepsi can and cut it to the required size.
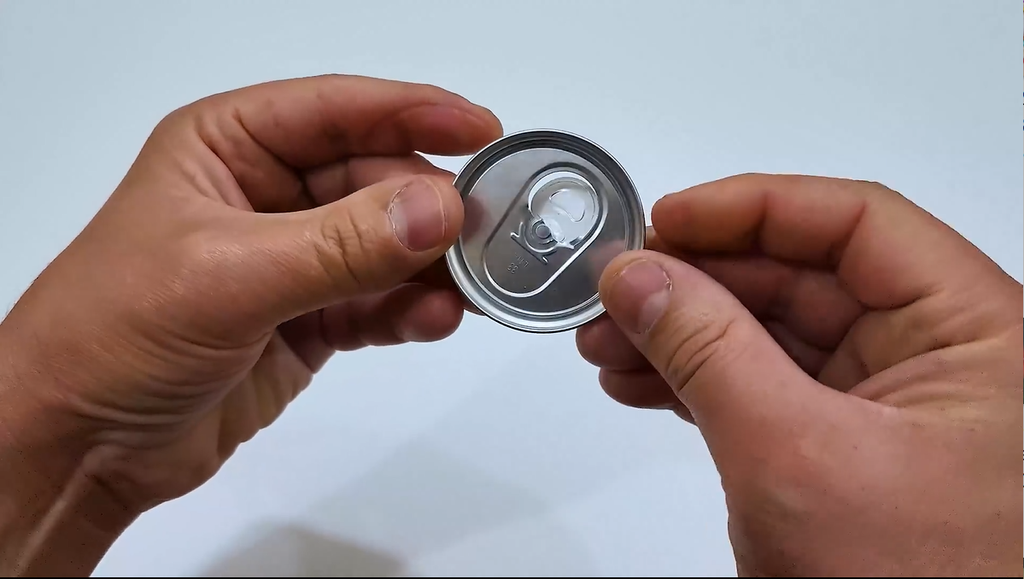
Then, I carefully cut off the top section of the can.
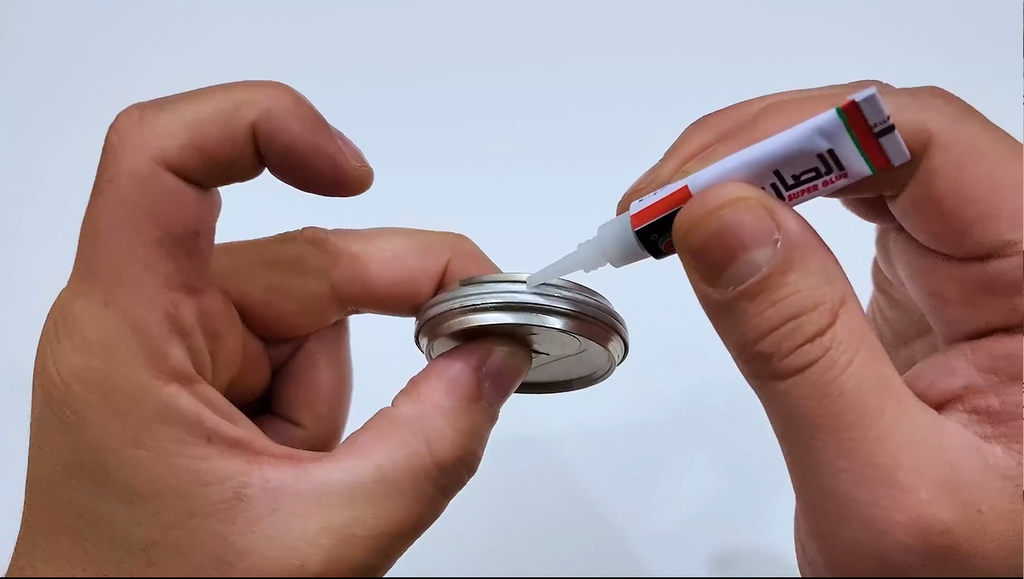
I made two identical pieces, joined them together, and shaped them into a wheel.
Step 2 – Making the First Wheel Frame
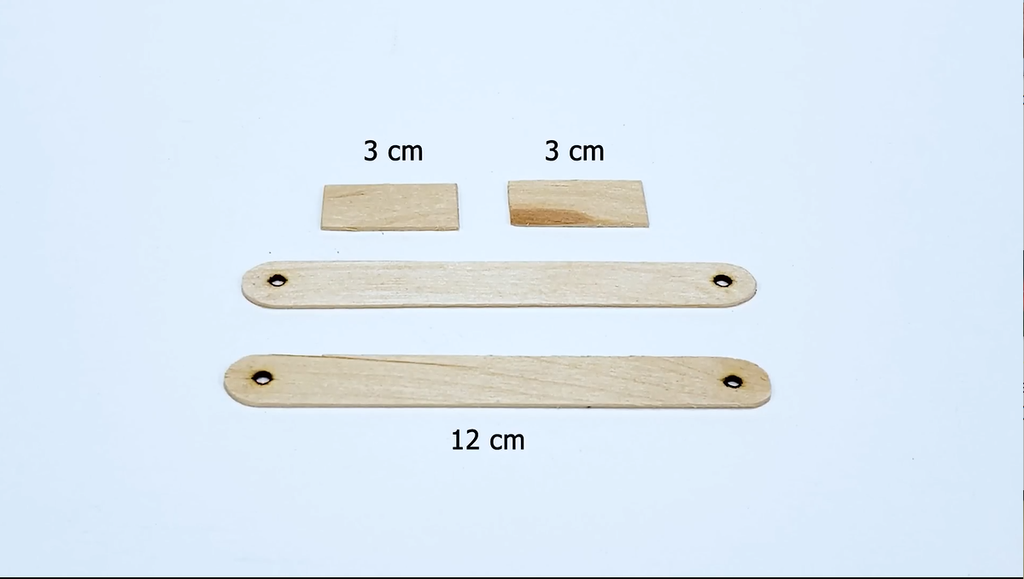
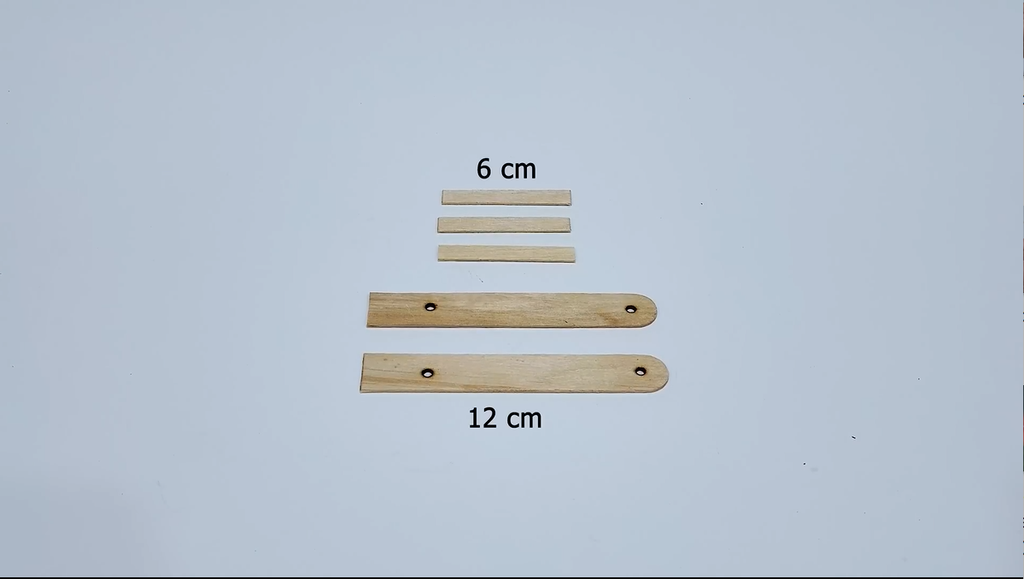
Next, I cut the popsicle sticks as shown in the video.
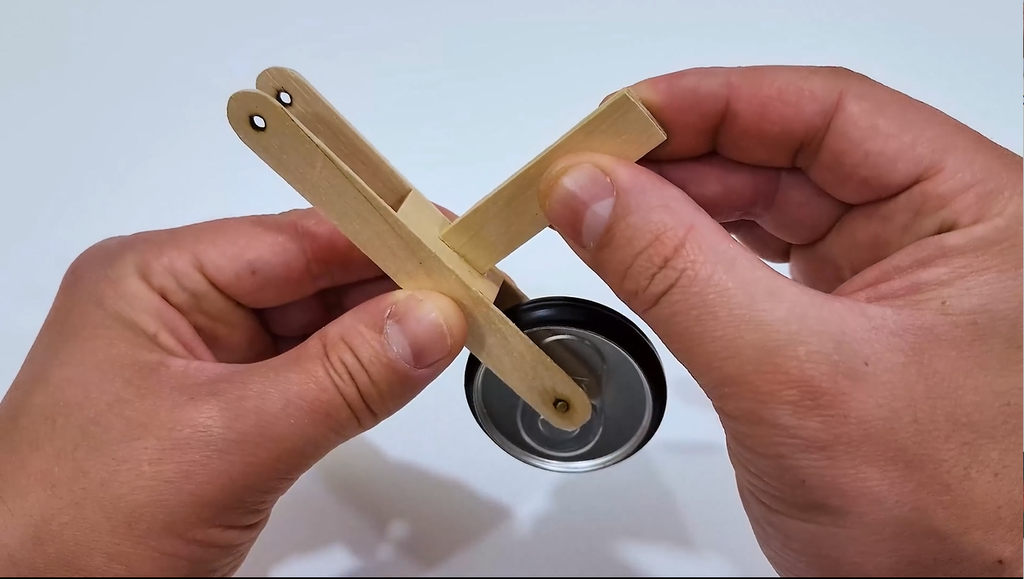
I joined the sticks together and attached the wheel made from the Pepsi can in the center.
Step 3 – Making the Second Wheel Frame
Then, I cut another set of popsicle sticks and joined them together.
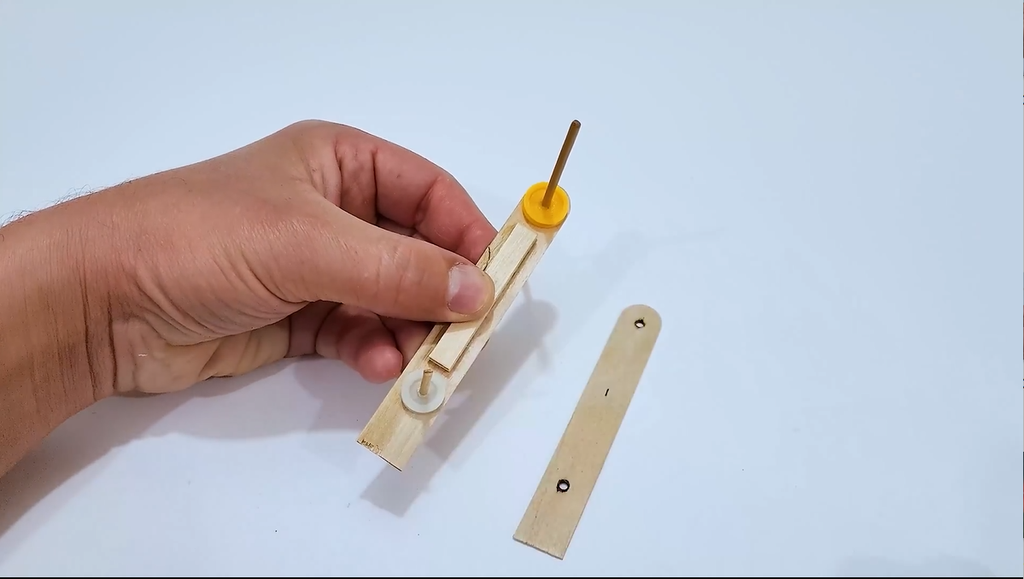
I attached two thin sticks on both sides and placed two small plastic pulley wheels between them.
Finally, I joined all the stick pieces together to complete the wheel frame.
Step 4 – Attaching the DC Motor
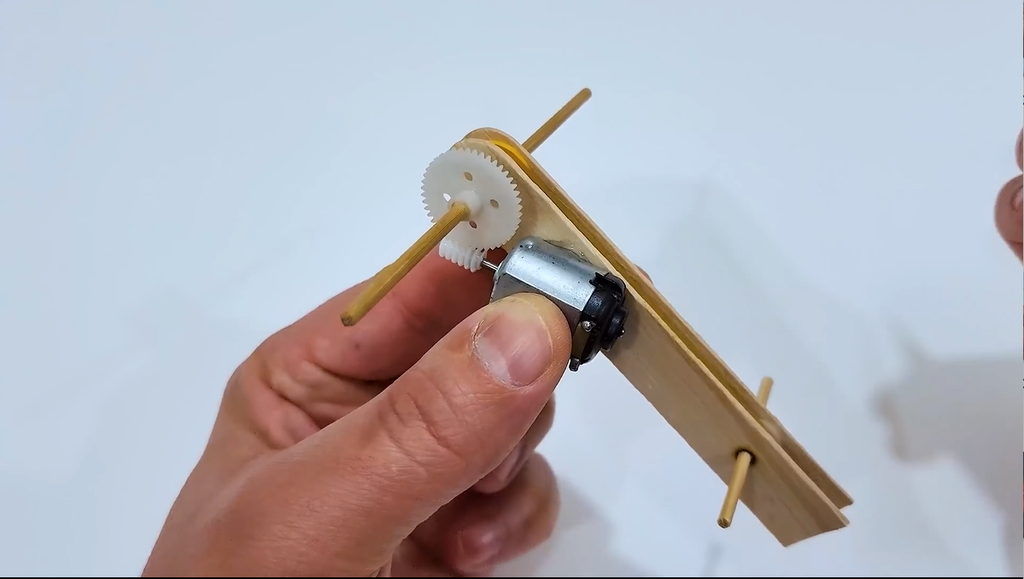
Next, I attached a small DC geared motor to the wheel assembly.
I made sure the motor was properly aligned with the wheel so that it could rotate smoothly.
Step 5 – Building the Car Body
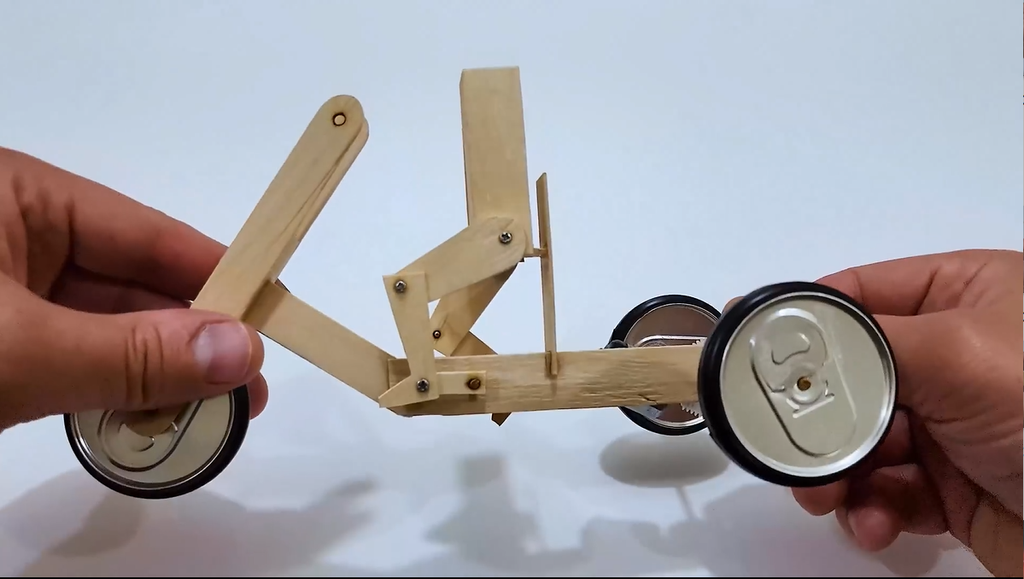
After that, I started assembling the popsicle-stick components to create the main car body.
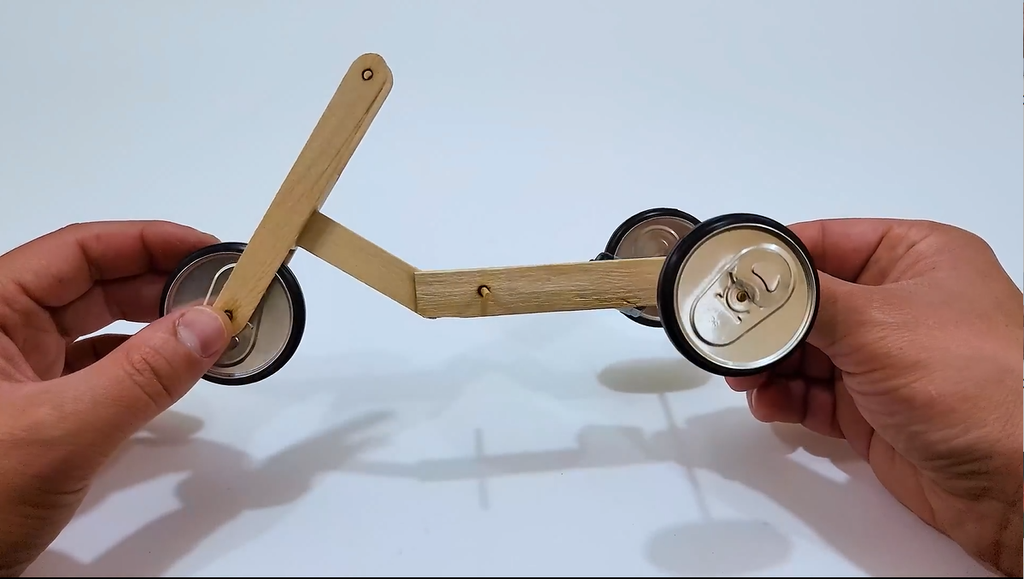
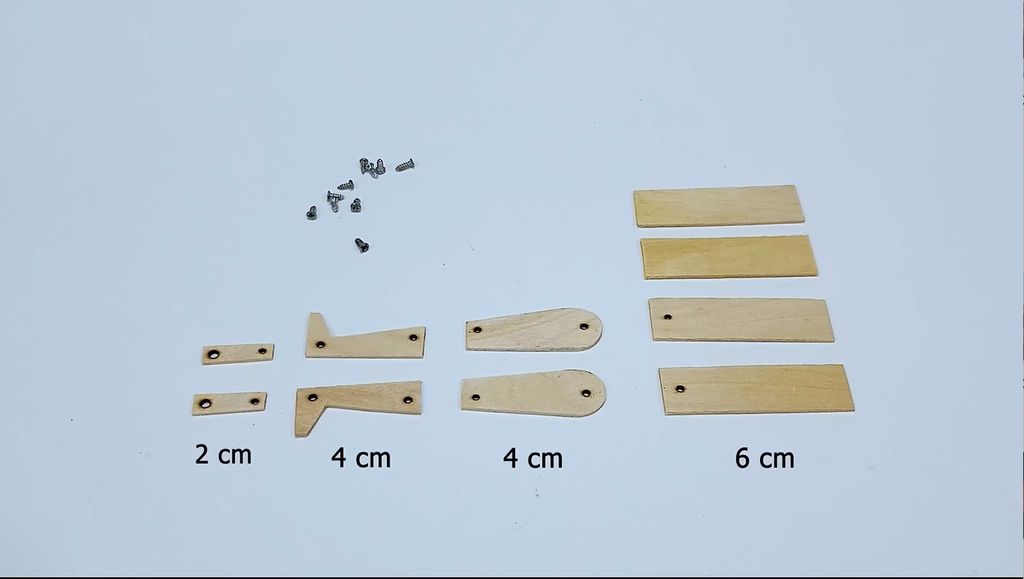
I cut the sticks into the required shapes and sizes as shown in the image.
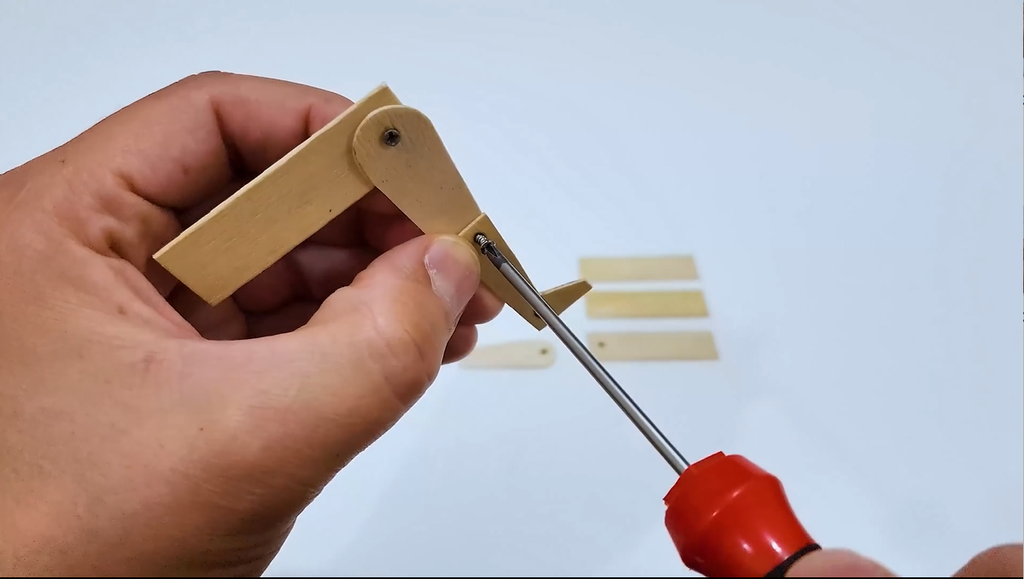
Then, I made holes in the center of the sticks, inserted screws, and mounted them onto the car body.
Step 6 – Making the Upper Structure
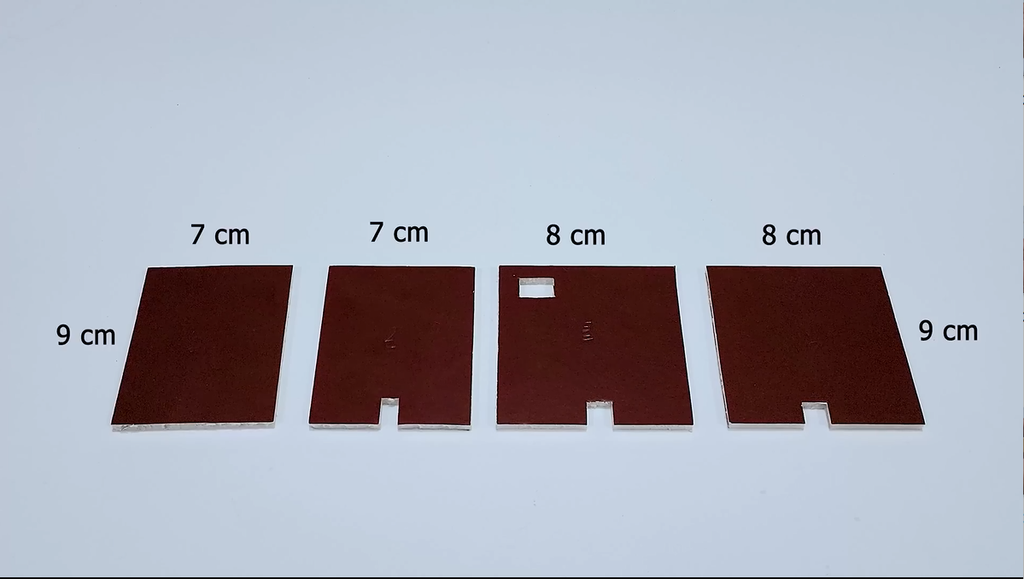
Next, I cut the plastic pieces as shown in the video and joined them together.
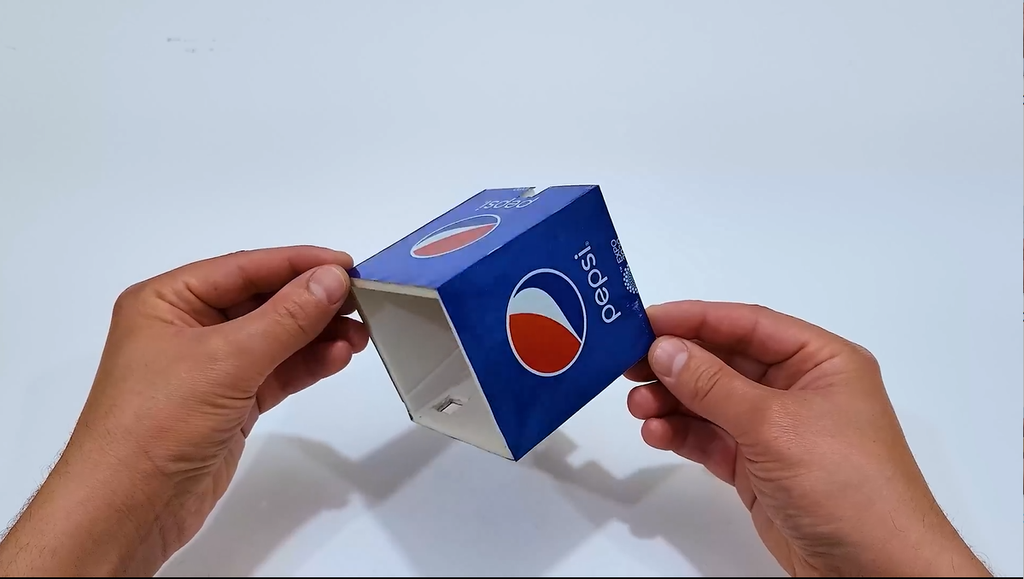
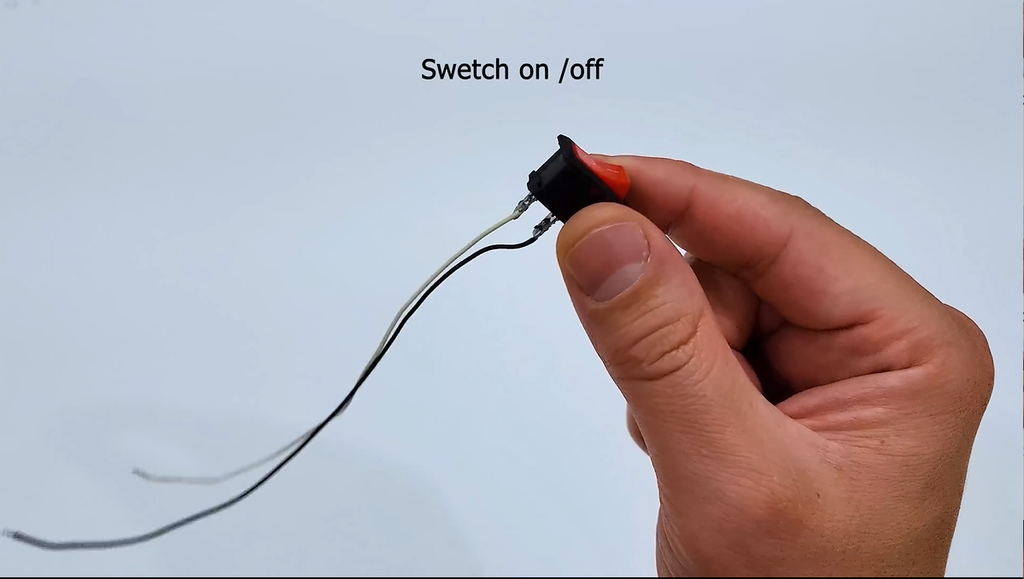
Then, I installed an On/Off switch on the car.
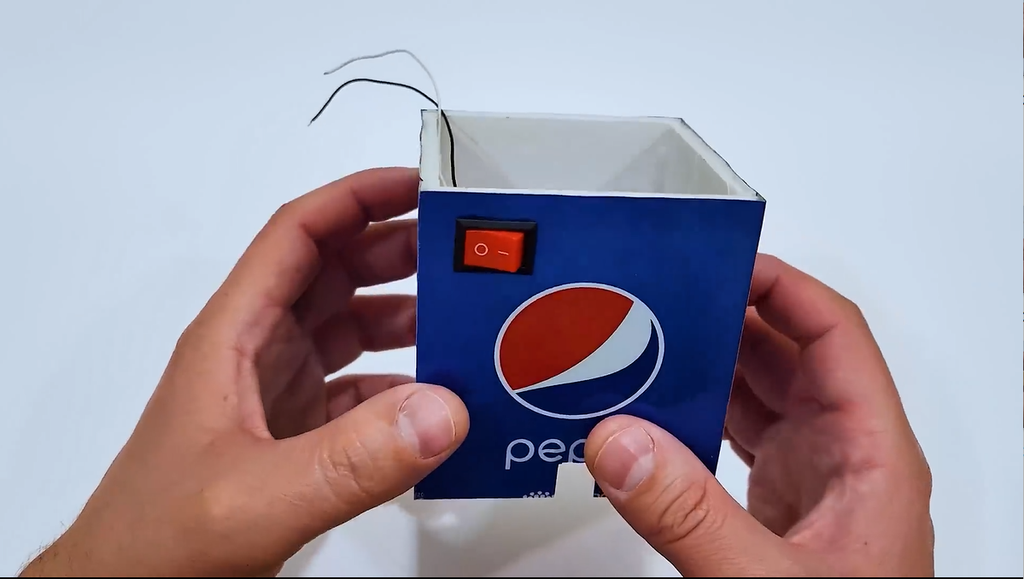
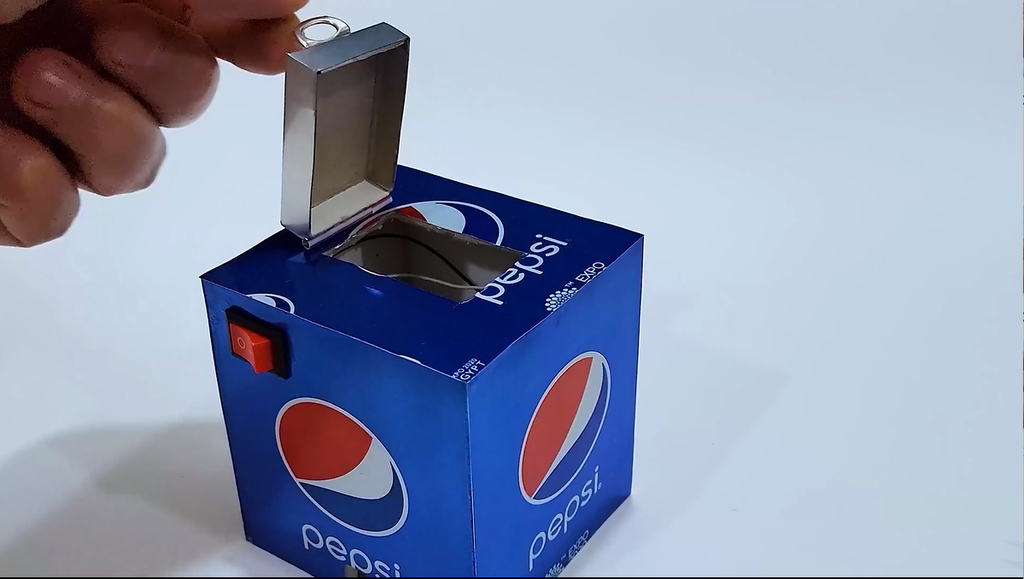
After that, I covered the top section and attached the lid.
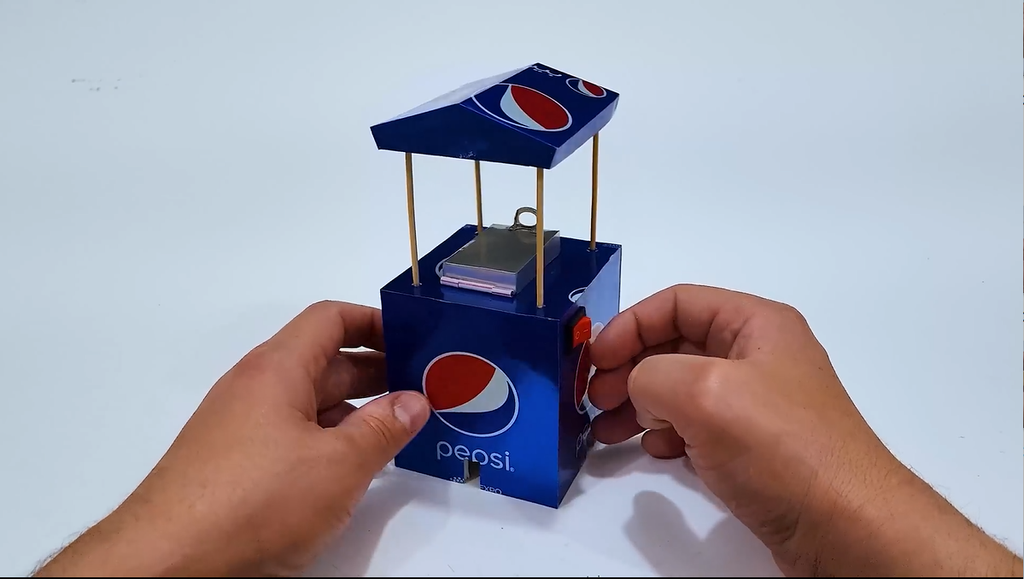
Finally, I used pieces of the Pepsi can and popsicle sticks to create the upper structure.
Step 7 – Final Assembly
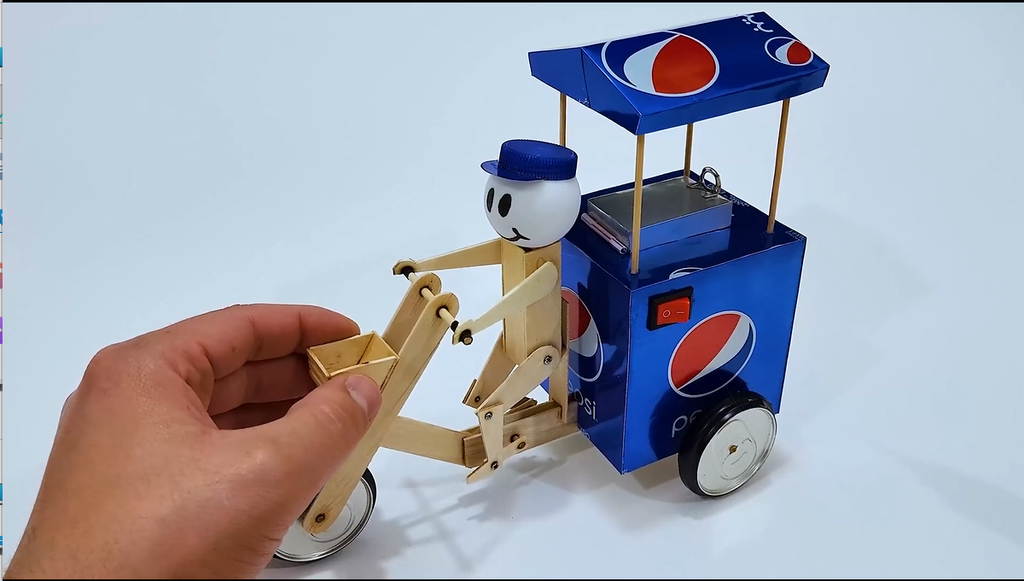
Finally, I attached the upper frame to the main car body.
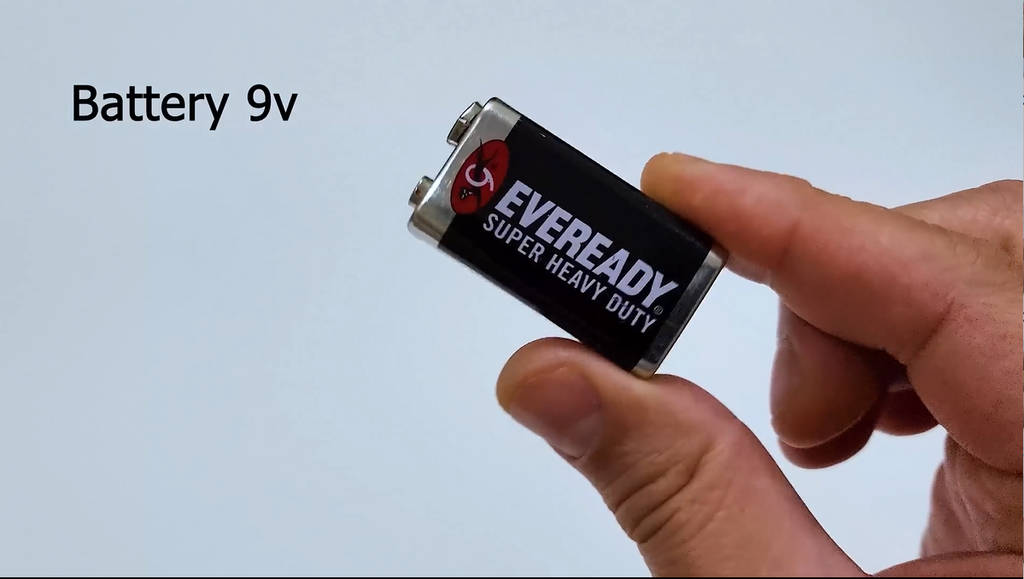
Then, I connected the battery and the head unit.
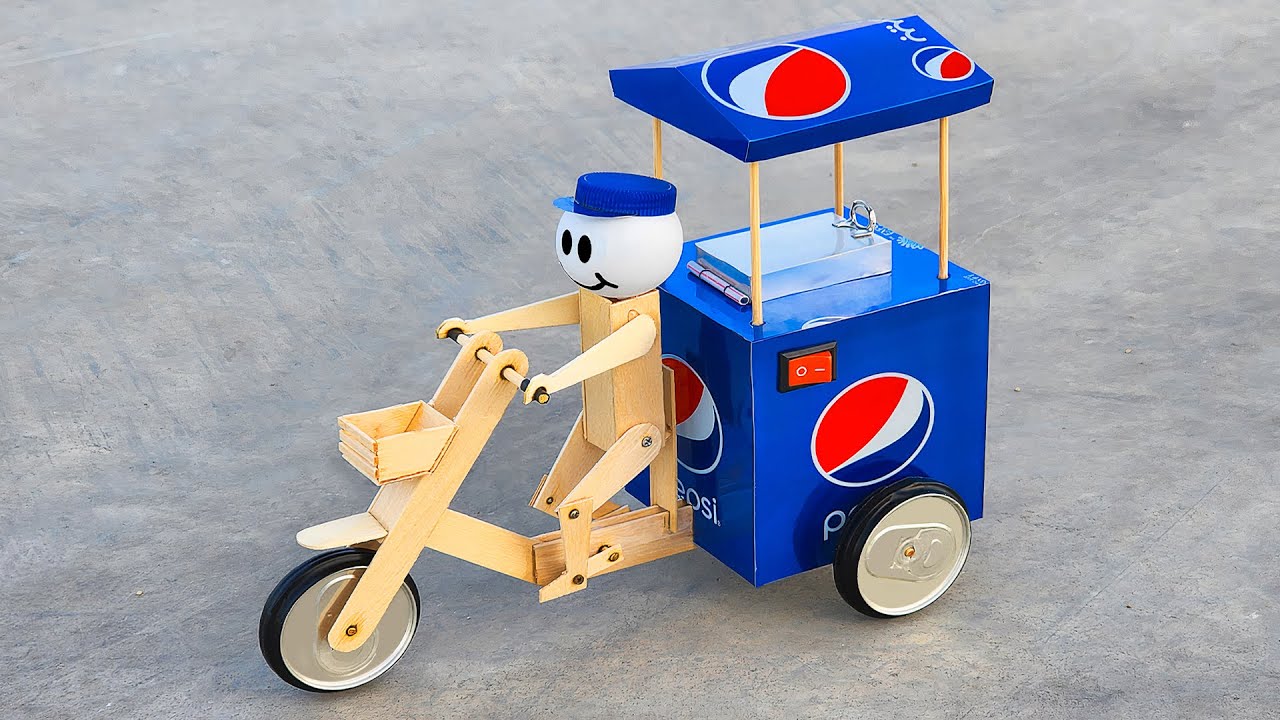
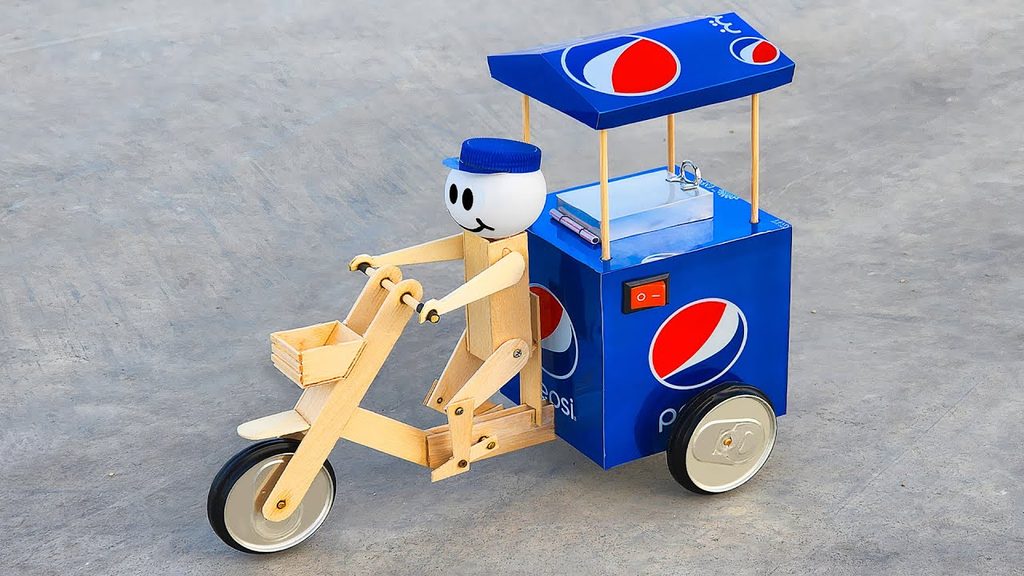
And with that, the DIY Pepsi-can car was complete.